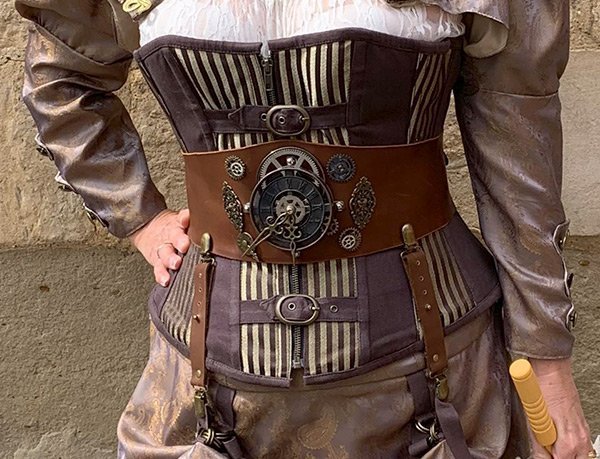
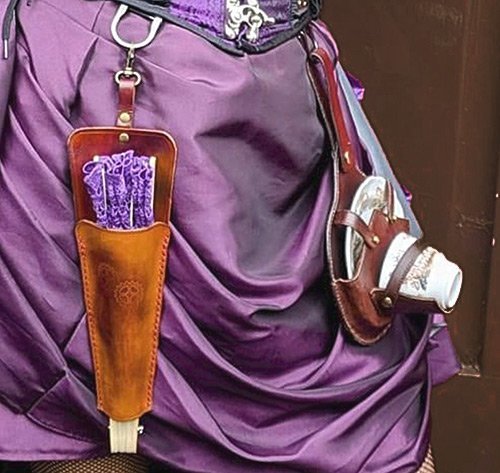
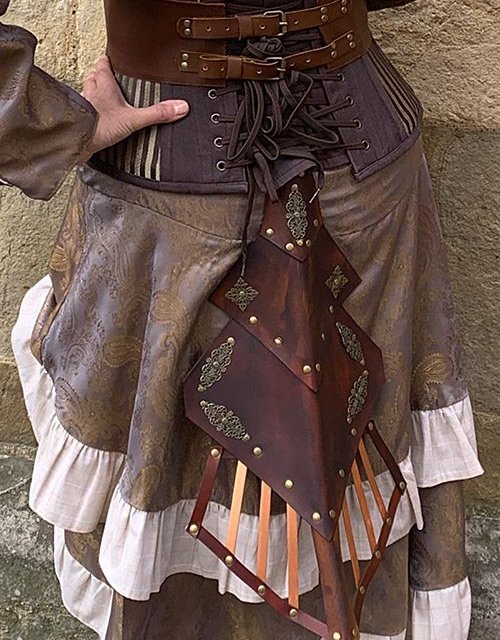
Creating Steampunk Leatherwork – by Scott Chegg
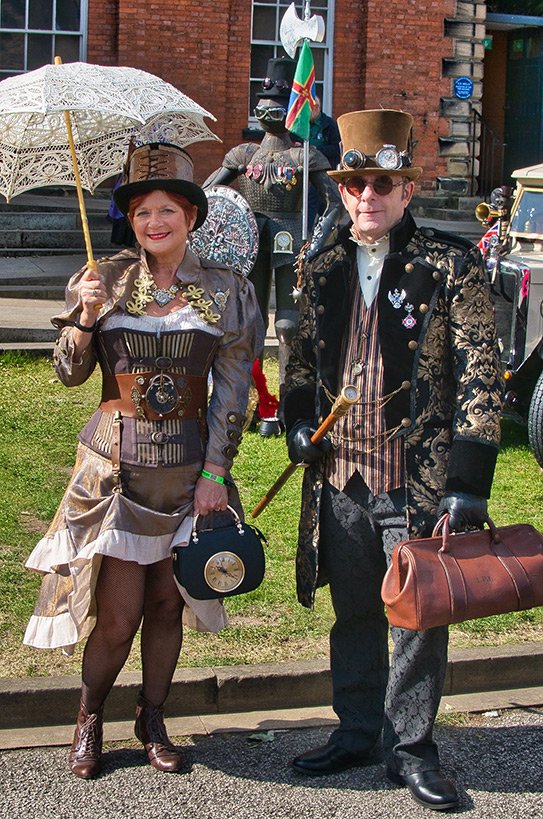
I've been asked to write this article about my journey into the world of steampunk leatherwork, but let me start by saying that I am the least creative person I know, or so I thought. I have no issue with the vision bit, but when it comes to the actual doing, I have never been particularly enthusiastic to create things. In my world, DIY stands for 'Don’t Involve Yourself', so once my journey into steampunk had started and I had well and truly fallen down the proverbial rabbit hole, it didn't take me long to realise that the steampunk accessories that my wife and I had in mind, either didn’t exist, or if they did, they were understandably expensive as leatherwork is a niche market catered for by skilled artisans.
My adventure begins
I decided to try and find out if I could make my own leather accessories, so I searched the internet for local leatherwork tutors and courses. After wandering down a few blind alleys, I came across a chap called Laurence White of Shedtime Handcrafted Leatherwork who, it turns out, is based fairly locally to me in Lincoln. Laurence is an amazing and very knowledgeable chap who was prepared to take on the challenge of helping me to get started with my leatherwork endeavours. A few weeks later and I found myself meeting up with Laurence for my Beginners to Leatherwork introductory course.
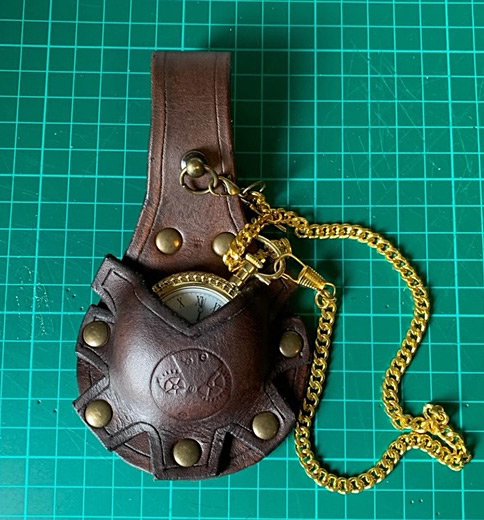
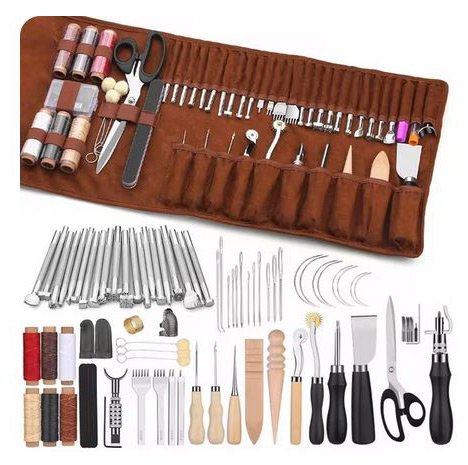
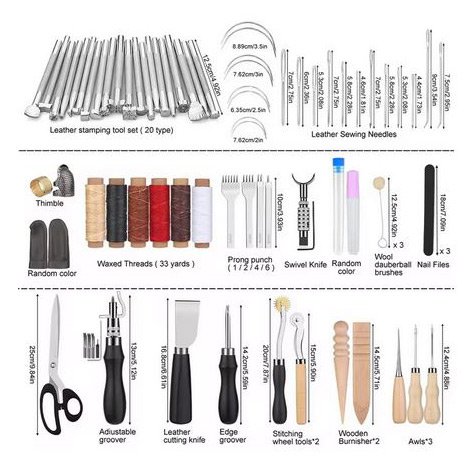
Laurence suggested that I purchase a set of basic leatherworking tools to get me started, that could be bought quite cheaply from Amazon or eBay. He also recommended a local leather supplier from whom I could buy vegetable-tanned (veg-tan) hides, dyes and special tools etc.
Understanding steampunk aesthetics
Why leather?
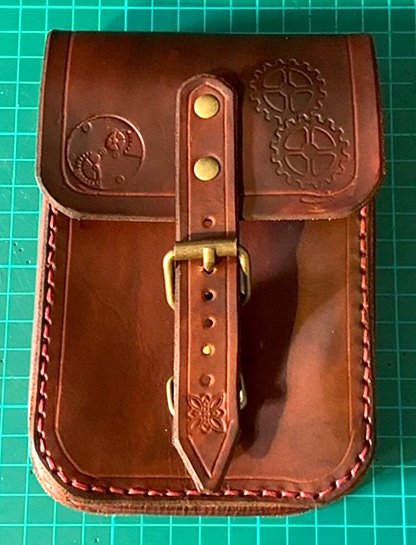
Essential tools and materials
Before embarking on your first steampunk leatherwork project, you will need to gather some essential tools and materials. Here’s a list of the basics to get you started:
- Leather – choose a good quality veg-tanned leather for its ability to take on dye and tooling well. The thickness you need will depend on the item you're creating. Thicker leather (e.g. 3mm to 4mm) is ideal for armour and structured items, while thinner leather (e.g. 2mm to 3mm) works well for clothing and accessories.
- Leatherworking tools – a basic set of tools should include a utility knife, leather shears, mallet, cutting mat, punches, stitching irons, bevellers, edge slickers and a swivel knife for carving. All of these tools can be bought from Amazon or eBay as part of any number of economically priced kits, and you can always upgrade your equipment later as your skills improve.
- Dyes and finishes – alcohol-based dyes provide deep, rich colours and are readily absorbed by veg-tan leather. You will also need a wax or acrylic 'finish' to seal the dye and protect the leather. My preferred dye is sold by a company called Fiebing, which again can be bought from eBay or Amazon, or any good leather supplier.
- Hardware – steampunk style is all about mechanical details, so gather/collect brass and copper gears, cogs, rivets, buckles, chains, studs etc. These elements will be key to giving your leatherwork that signature steampunk look and style.
- Adhesives and threads – leather cement or contact adhesive is essential for bonding pieces of leather together. Waxed thread, along with needles designed for leatherwork, will be needed for stitching, and usually come as part of the beginner kits mentioned previously.
Designing your steampunk leatherwork
The design phase is crucial in your steampunk leatherwork journey. This is where you can let your creative juices run wild, blending Victorian elegance with industrial grit. Here’s a few tips to help you design your pieces:
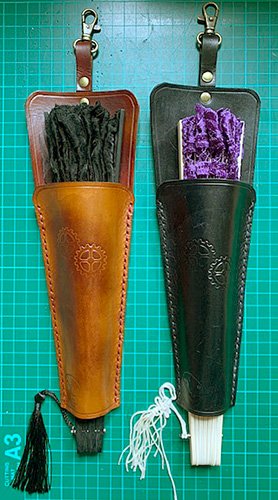
- Mix textures and materials – good steampunk design is all about contrast. Pair smooth, polished leather with rougher, distressed leather or stitching, and combine leather with metal, wood, plastic or even fabric for a layered, textured look.
- Victorian influences – most importantly, look to Victorian fashion for inspiration. High collars, lace and corsets can be incorporated into leather pieces. Think about how to translate these elements into leatherwork – perhaps a leather corset or belt with brass buckles, or a high-collared leather jacket with intricate tooling. For example, one item I recently made for my wife is a leather steam-train fender bustle (shown elsewhere on this page), which was based on a picture that she found on Pinterest.
- Functionality and form – steampunk fashion is often practical. Consider the functionality of your pieces. How will they be worn or used? Are there pockets, straps or attachments that can be added for utility?
Crafting your steampunk leatherwork
Skill Development
Pattern Making
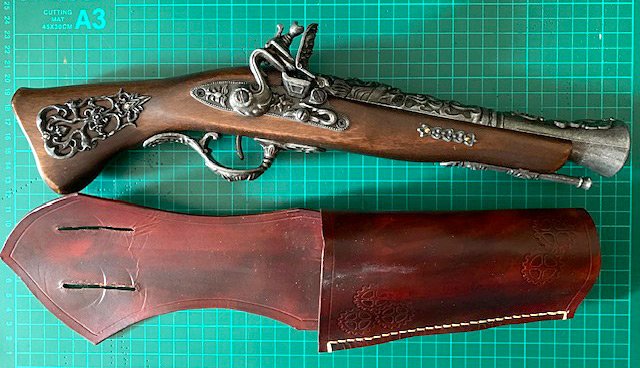
Start by creating a pattern for your leatherwork. Use paper or cardboard to draw out each part of your design and see how they fit together, or not! This step is crucial for ensuring that all the pieces fit together correctly, and that the final product will have the desired look and dimensions. Once your design is in place, it's time to bring your steampunk leatherwork to life. I can’t stress this enough though: get some good quality card to make test-patterns from, as you will need to visualise 3D shapes and it’s way cheaper to make mistakes with card than it is with leather!
Cutting the Leather
Place your card pattern pieces on the leather and trace around them using a stylus or pen. Carefully cut the leather using a utility knife or leather shears, making sure to keep your cuts clean, precise and vertical i.e. at a right-angle to the material's surface. This takes time and practice, especially when going around curves as the tendency is to tilt the blade or knife. You can buy tools that help with this but personally I prefer to do my cutting freehand, taking my time. Another important thing to note is not to try and cut through the leather all in one go. Instead, make a series of shallow slices until you cut through from one side to the other.
Stitching and Punching
Embossing or Carving
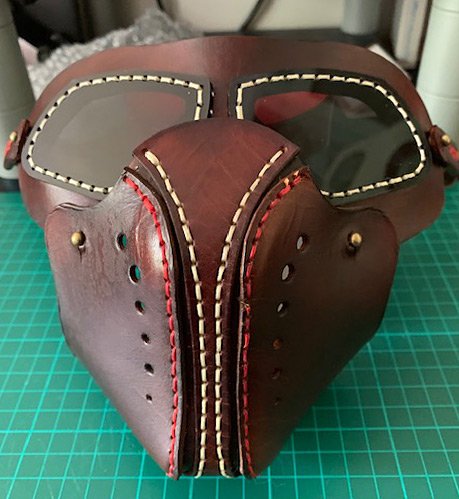
If your design includes carved, embossed or tooled details, now is the time to add them. Dampen the leather slightly with water to make it more pliable. Use a swivel knife or engineers compass and stamps to create depth and texture. If you intend to punch holes in the leather, where possible try to do this before you dye the items so that the dye goes into all the cuts and punched parts, making for a more professional look.
Dyeing
Once your tooling is complete, you can dye the leather. Wear latex or rubber gloves - you have been warned! Use a sponge or cloth to apply the dye evenly, working in small sections at a time. Layer different colours to create depth and highlights, and allow the leather to dry completely before applying a finish to seal the dye.
Assembling and Stitching
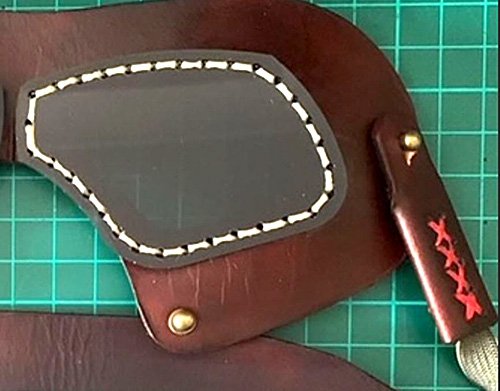
Finishing Touches
Once all the main components are assembled, add any final touches. This could include distressing the leather for a worn, antique look, or adding extra embellishments like chains or additional cogs. Polish the leather with a finishing wax or oil to protect it and give it a rich, glossy finish.
Caring for your steampunk leatherwork
Leather is a durable material but it requires care to keep it looking its best. Here are some useful tips that I find work well for maintaining your steampunk leatherwork:
- Keep it dry – avoid getting leather excessively wet. If it does become wet, dry it slowly at room temperature. Never use direct heat as this can cause the leather to crack.
- Condition regularly – leather can dry out over time, especially if it's exposed to sunlight or heat. Use a leather conditioner to keep it supple and prevent cracking.
- Clean with care – if your leatherwork gets dirty, wipe it with a damp cloth. Avoid using harsh chemicals or cleaners that can strip the leather of its natural oils.
- Store properly – when not in use, store your leather pieces in a cool, dry place away from direct sunlight. Use bags or covers to protect your work from dust and scratches.
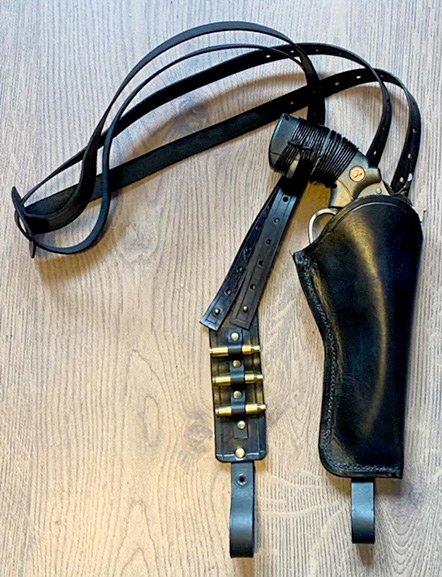
Steampunk leatherwork offers a rewarding and fulfilling hobby that combines craftsmanship, creativity and a love of both the past and the future, aka 'retrofuturism'. For me, steampunk leatherwork provides a canvas for my new-found creativity. From intricate pouches to elaborate steampunk goggles, the possibilities for creative expression are endless. You can experiment with different designs, techniques and materials to create pieces that reflect your personal style and imagination, so what are you waiting for? ...go to it!
– Scott Chegg, September 2024
